Sometime it is very useful to test on an older device to reproduce bug found by your other iOS users, but launching / select an older iOS simulator is not that straightforward compare with Android simulator which can easily be done in Visual Studio for Mac.
For iOS simulator, first you need to install the older version of iOS simulator from Xcode.
- Launch Xcode.
- Open Preferences by go to top menu > Xcode > Preferences.
- Open Components tab.
- Select and install the iOS simulator version you prefer by clicking on the small download button on the left.
- The download / installation might take some time.

Just install the older simulator is not enough, you need to manually create a simulator for this version too.
- Still inside Xcode.
- Open Devices and Simulators by go to the top menu > Window > Devices and Simulators.
- Switch to Simulators tab.
- Click the small + button on the bottom left.
- Enter a name for the simulator (it even suggested a name for you).
- Remember to select the correct iOS version you need.
- Click OK and you should see the newly created simulator added to the list of simulator on the left.


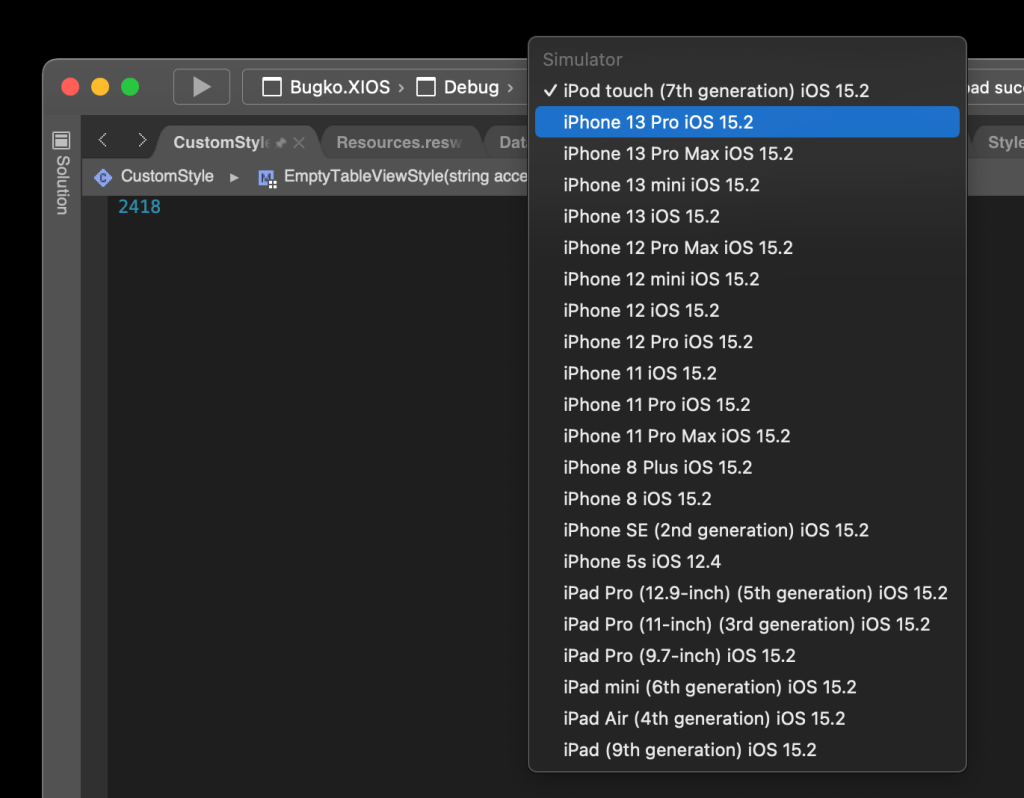
Once you have installed and created the iOS simulator. Then only Visual Studio for Mac will be able to show the new simulator in the simulator list. You might need to restart Visual Studio for Mac for the simulator list to be refreshed if Visual Studio for Mac already running when you create the simulator.
One thing to keep in mind that older simulator doesn’t get removed automatically when you update your Xcode.
